So finally you don’t need 3rd party software to realize this kind of visualisation with OH.
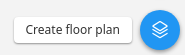
 (+) in the lower right corner and select „Create floor plan“
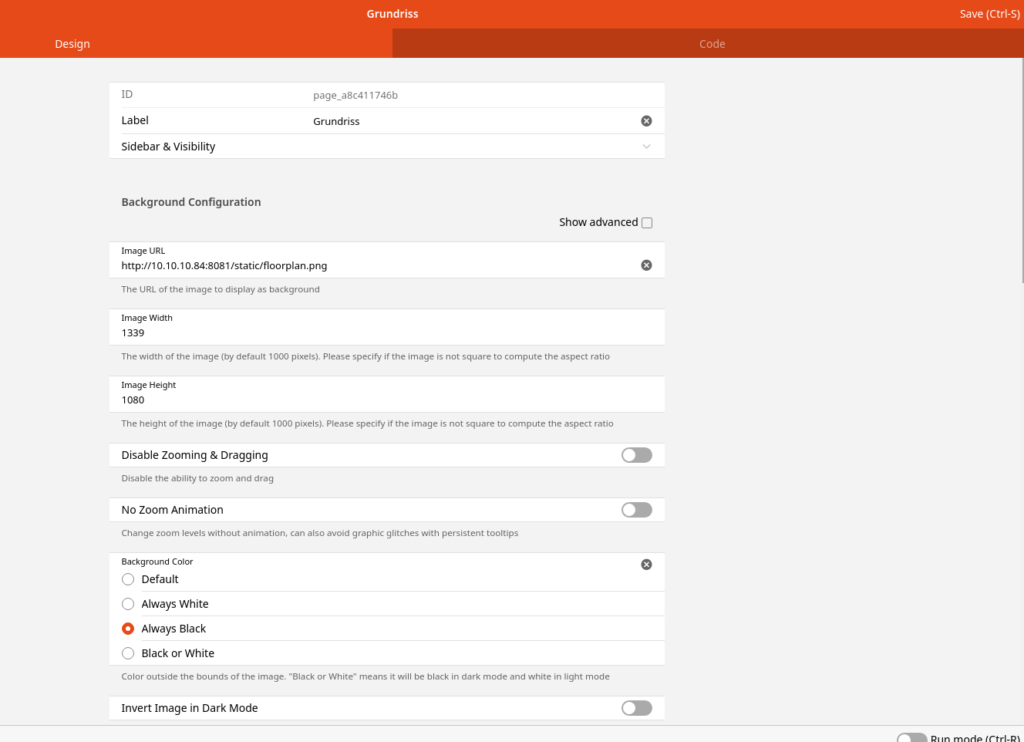
Unfortunately there is now Upload for your background image here – you have to entry a URL. If you upload an image to ../openhab_conf/html/ (in my docker install it’s /opt/openhab3/openhab_conf/html/) you can use the URL https://ip:port/static/floorplan.png .
When you start addings markers to your floor plan, use Ctrl-S to save it very often. In my case this was very buggy – especially with FireFox, Chromium went a bit better. Othervise things can get lost if you switch to Code view.

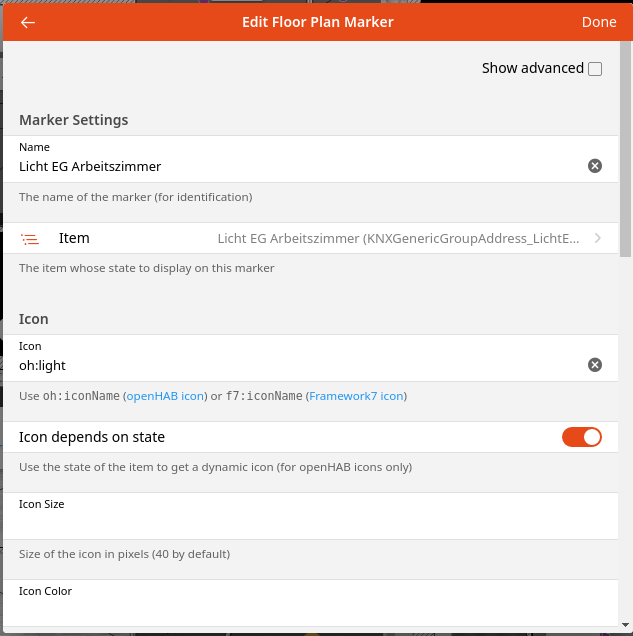
In Rzn mode you see your backgrund image and you’re able to place markes on it via „Add Marker +“ in the upper right corner. An new icon ![]() will appear. You can move it by mouse or click and „configure“ it.
will appear. You can move it by mouse or click and „configure“ it. 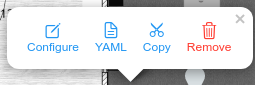
The Code looks like that:
config:
  label: Grundriss
  imageUrl: http://192.168.0.84:8081/static/floorplan.png
imageWidth: 1339
imageHeight: 1080
sidebar: true
backgroundColor: black
markers:
- component: oh-plan-marker
config:
name: Licht EG Arbeitszimmer
coords: 347.8965363437814,156.97770542341357
item: KNXGenericGroupAddress_LichtEGArbeitszimmer
iconUseState: true
icon: oh:light
action: toggle
actionItem: KNXGenericGroupAddress_LichtEGArbeitszimmer
actionCommand: TOGGLE
slots:
default: []
So I placed markers on the floor plan in run mode and connected them to items in teh config GUI, everything else I did in Code view.

  - component: oh-plan-marker
    config:
      name: Temperatur Kinderzimmer
      coords: 886.709316039385,44.863268966278405
      item: FritzHeizungKinderzimmer_Temperatur
      icon: oh:temperature
      useTooltipAsLabel: false
      tooltipPermanent: true
    slots:
      default: []
Of course there’s a lot more to do, but this is a good start. The next thing for me is sowing the plan on an Android tablet by default.
1 Kommentar