So here I’ll post my way to get openHAB 3 with KNX working, which seems to be different in central configuration if you want to use the new OH3 UI. I didn’t want to import the old file-base OH2 config – which wasn’t complete anyways – but did it all new from scratch.
What I really like ist the Code view so you can easily compare configuration or copy and paste stuff. So let’s start.

Things Code is:
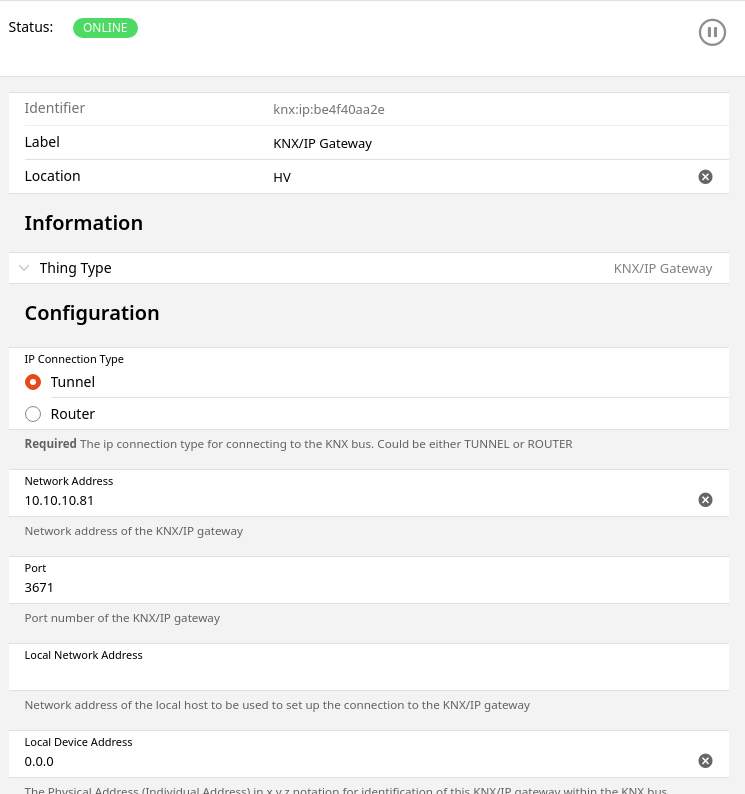
UID: knx:ip:be4f40aa2e
label: KNX/IP Gateway
thingTypeUID: knx:ip
configuration:
  useNAT: false
  readRetriesLimit: 3
  ipAddress: 192.168.0.81
  autoReconnectPeriod: 60
  type: TUNNEL
  localSourceAddr: 0.0.0
  readingPause: 50
  portNumber: 3671
  responseTimeout: 10
location: HV
If this is „Online“, we have to add a new Thing, the „KNX Generic Group Address“ with Type „KNX Device“ and choose the bridge above as „Parent Bridge“- this one will contain all our KNX stuff as channels.
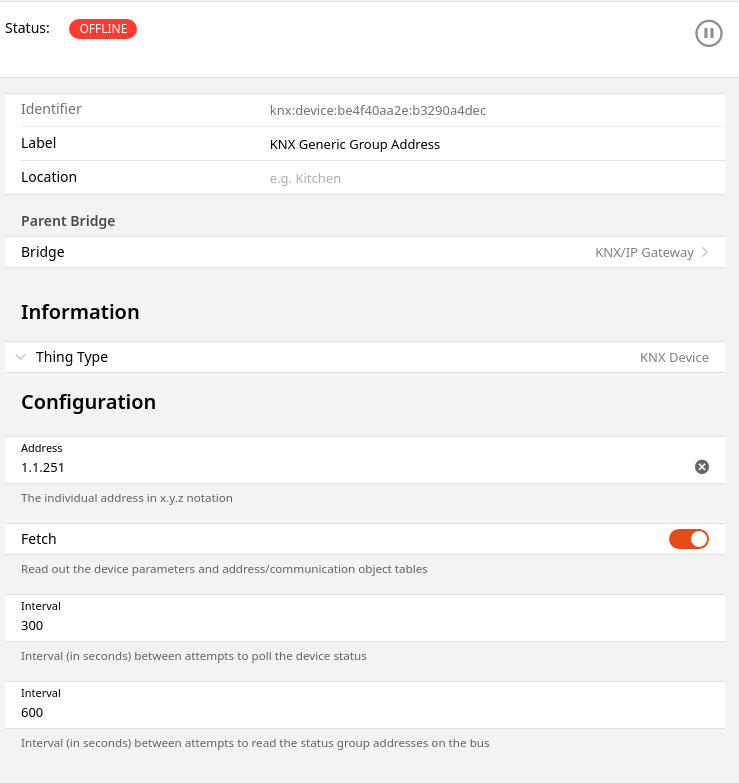
So The Code looks like this – now you can start copy and past the channels to add new ones easily:
ID: knx:device:be4f40aa2e:b3290a4dec
label: KNX Generic Group Address
thingTypeUID: knx:device
configuration:
pingInterval: 300
address: 1.1.251
readInterval: 600
fetch: true
bridgeUID: knx:ip:be4f40aa2e
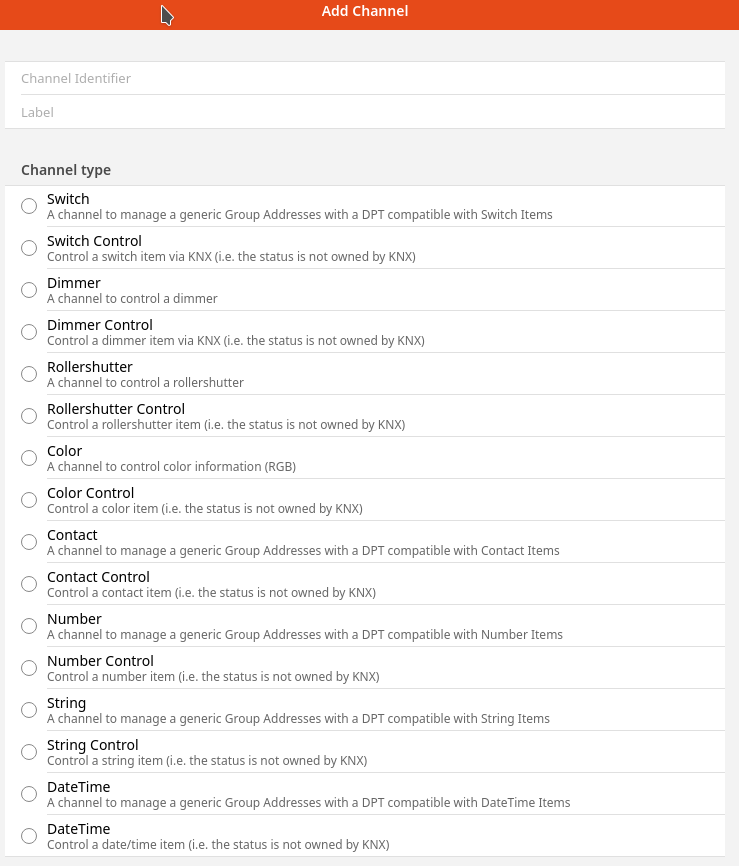
channels:
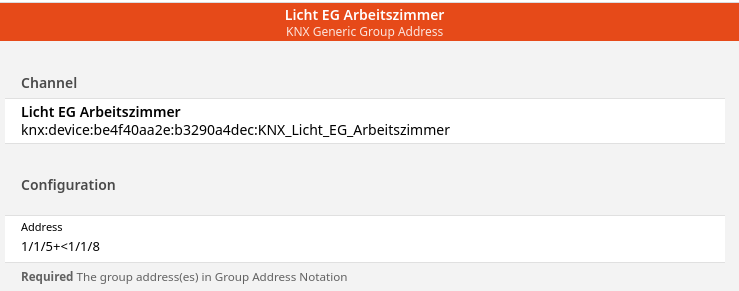
- id: KNX_Licht_EG_Arbeitszimmer
channelTypeUID: knx:switch
label: Licht EG Arbeitszimmer
description: ""
configuration:
ga: 1/1/5+<1/1/8
- id: KNX_Licht_EG_Esszimmer
channelTypeUID: knx:switch
label: Licht EG Esszimmer
description: ""
configuration:
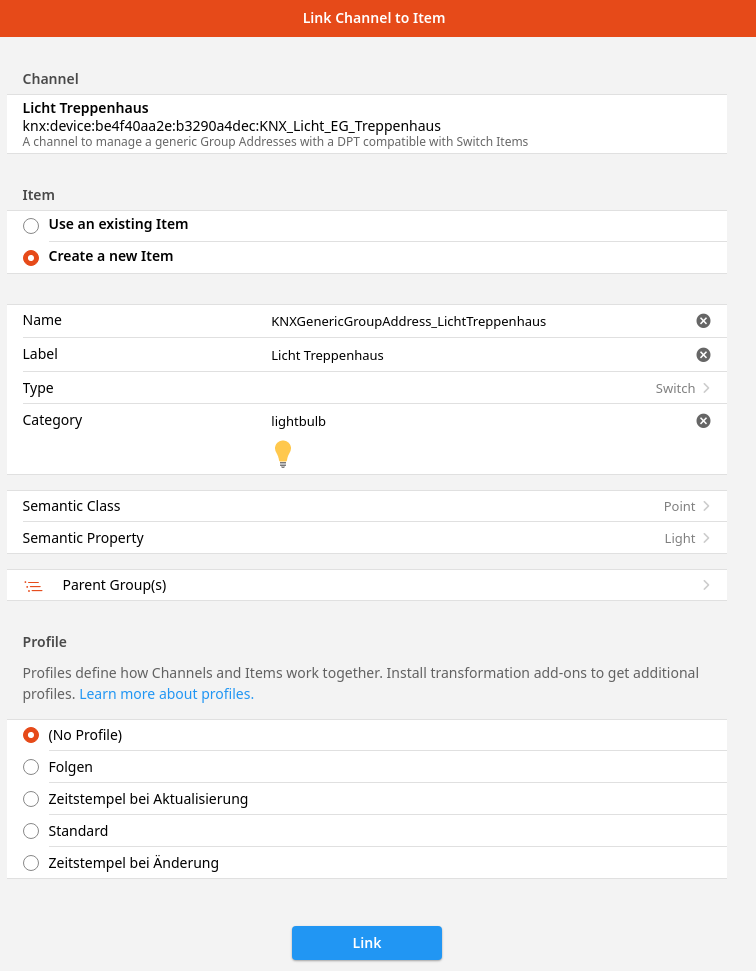
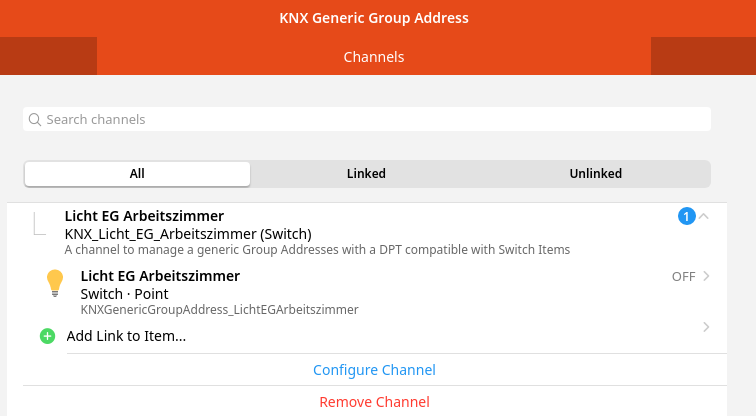
ga: 1/1/25+<1/1/28Afterwards all your new channels are listed in the „Channels“ Tab. The next step is to link them with items with the „Add link to item“ links. Here you can easy create a new item with a generated but readyble name:
This was it so far – for me the next step was to build a floor plan with all my items, this will be in my next blog post.